Fall doesn’t just bring in cool air and falling leaves; it signals the last chance to finish up any routine maintenance needed outside. Taking time now to inspect and maintain your home’s exterior wood siding can protect against potential damage that can come your way in future seasons.
Step 1: Inspect Your Siding
Before seasonal weather sets in, whether it’s winter snow, heavy rain, or summer heat, take time to walk around your home and inspect your log siding up close. Knowing what to look for can help you find any minor issues before they become costly repairs. Start by checking for cracking, warping, or moisture damage. These can be early indicators of water intrusion, UV damage, or shifting wood from weather fluctuations. Look closely for mold, mildew, or signs of pests, such as small holes, sawdust trails, or nests.
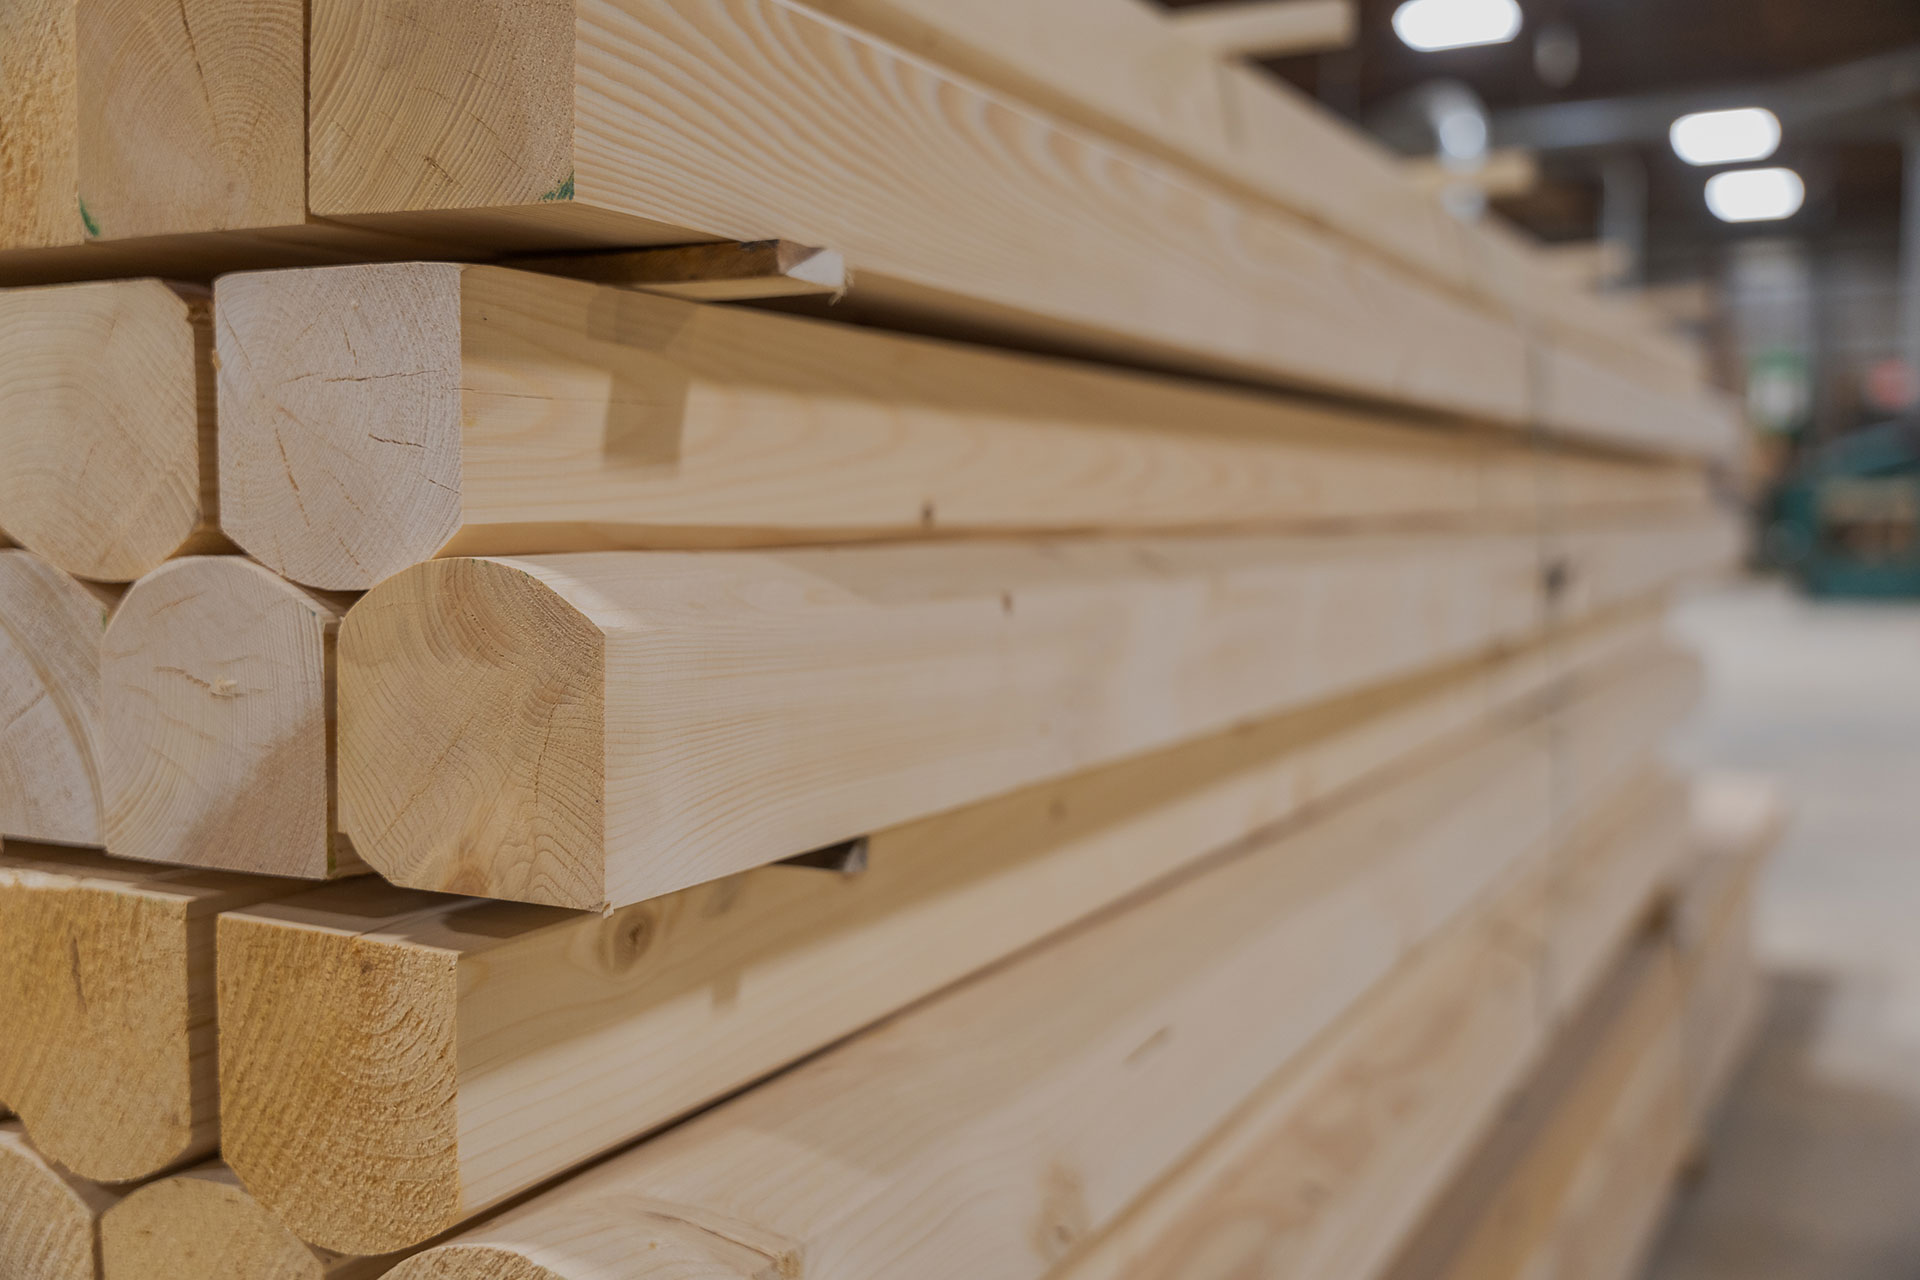
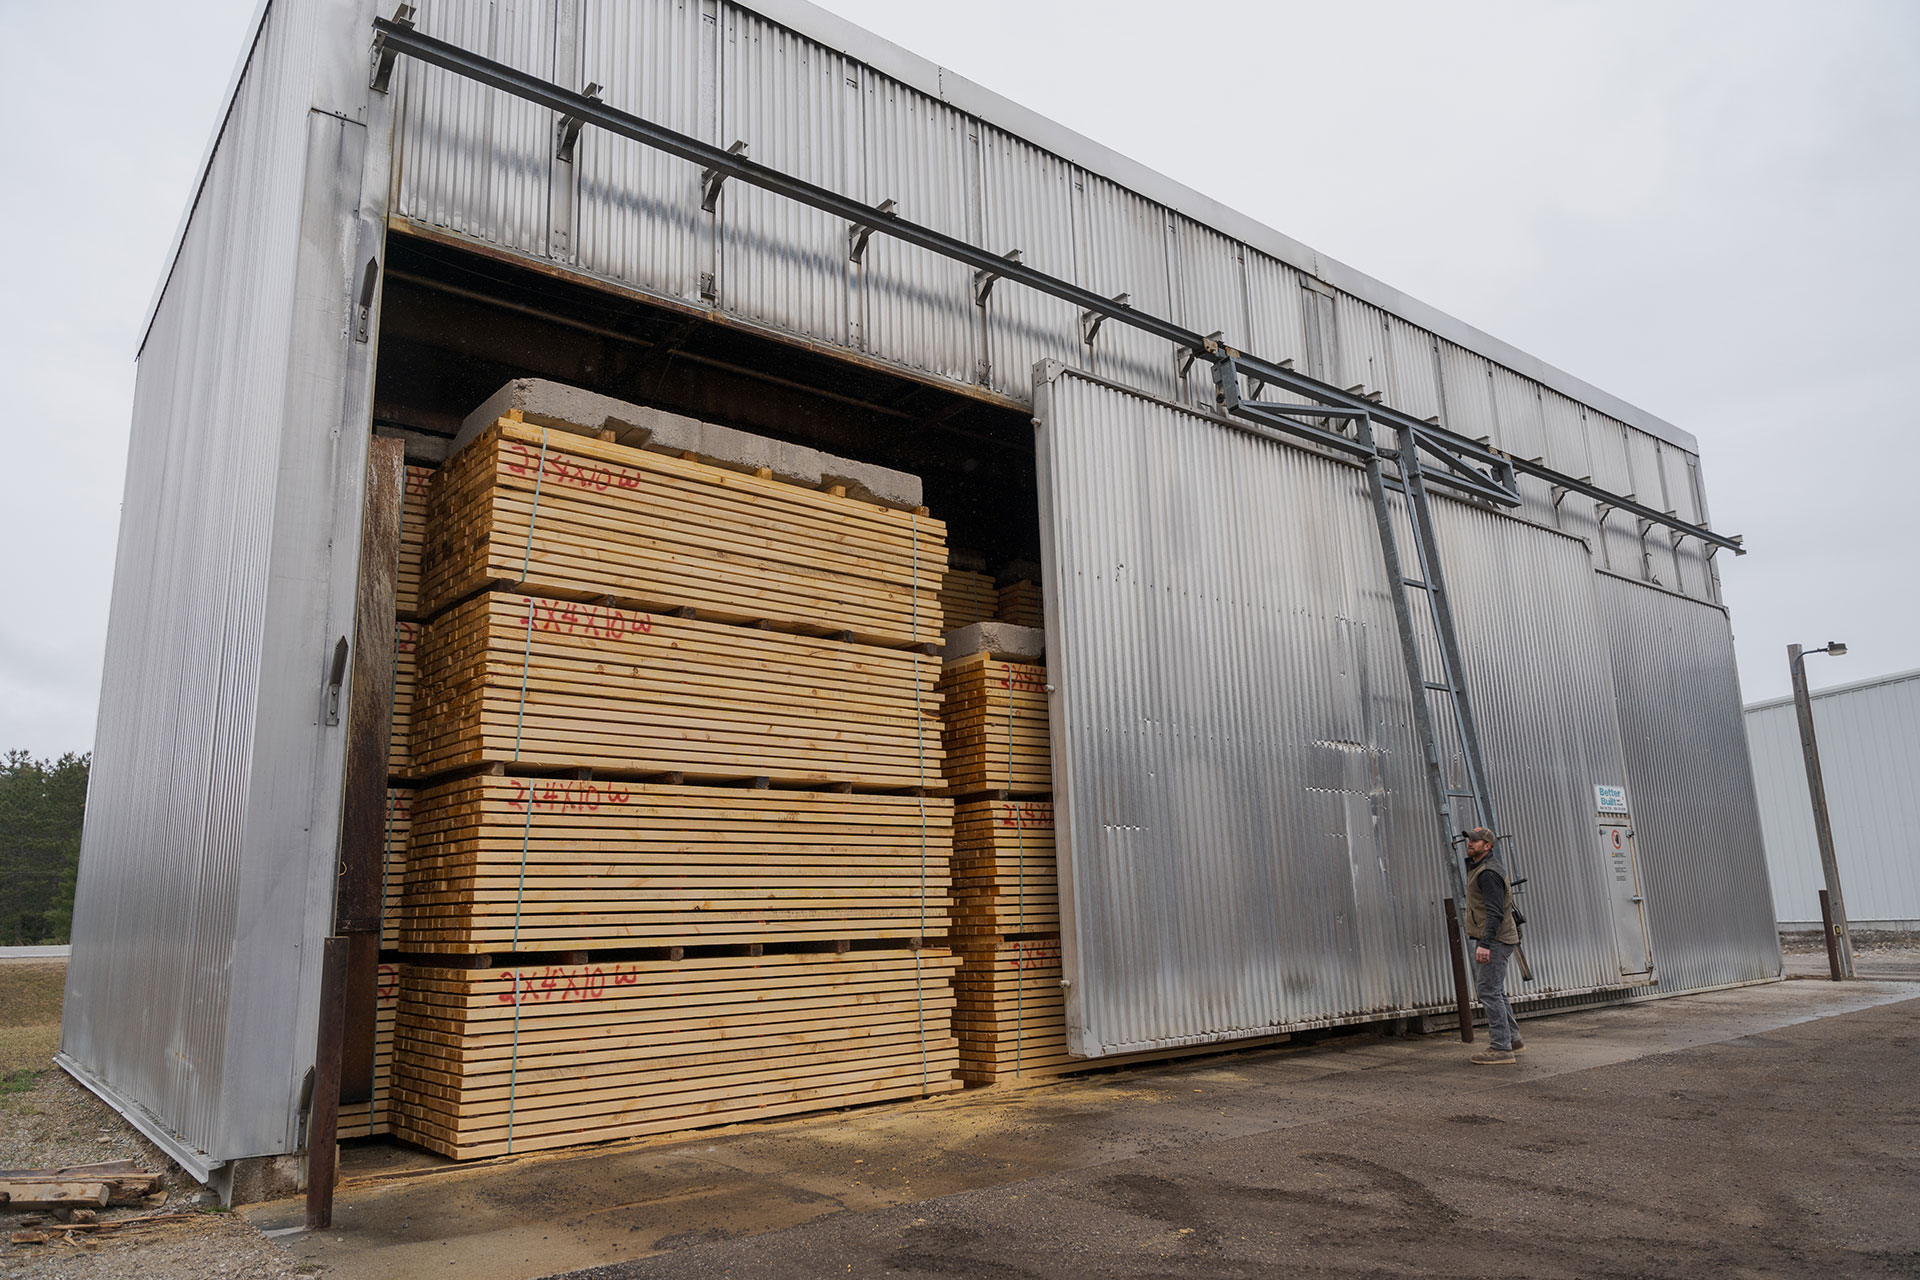
While we kiln-dry our log siding longer and at a lower moisture content than anyone else to ensure stability and long-term performance, real wood will always carry some natural variation. A sporadic faulty panel is rare, but possible. Over time, even the best protective finishes can wear down, leaving wood more vulnerable to the elements. Catching these problems early gives you the chance to fix them before winter’s freezing temperatures, or intense seasonal weather in your region, can make them worse.

Step 2: Clean the Surface
There are two different approaches you can take to cleaning your siding: hand-washing and power washing. Hand-washing with a soft-bristled brush and warm, soapy water is the safest method for cleaning up siding. This method takes more time, but it almost guarantees that water does not penetrate past your siding’s protective barrier.
Using a power washer is another way to tackle dirty siding; however, it does require a more cautious approach. Power washing can damage wood siding if the pressure is too high or if the tip is too narrow, but it can also save you time on cleaning. If you decide to power wash, opt for a fan or wide-angle tip and keep the pressure low to moderate. Spray at a downward angle to avoid spraying directly into any seams or joints.
When it comes to selecting cleaning products, avoid any harsh chemicals or bleach-based cleaners that can strip finishes, or even harm any landscaping you have close to your home. Look for siding cleaners specifically for wood or a mild detergent. To remove mildew or heavy buildup, apply your cleaning solution with a sprayer or brush, let it sit for a few minutes, then scrub and rinse thoroughly.
Step 3: Check Caulking and Seals
After you’ve cleaned up your siding and let it dry completely, you should examine your windows, doors, and joints. These are points where water and air can sneak in if seals have started to fail. Look for cracked, brittle or missing caulk. If the caulk is pulling away or feels dry and crumbly, it’s time to reapply. For wood siding, it’s best to use a high-quality, paintable exterior caulk that’s made to expand and contract with changing temperatures. Checking and resealing now helps prevent moisture from finding its way into your home, and extends the life of your siding and your finish.

Step 4: Touch Up or Refinish
Re-sealing and staining is the last critical step to caring for your siding. A quality finish protects the wood from moisture, UV rays, and seasonal wear. Most finishes last up to 5 years but can vary depending on its exposure to these factors.
There are numerous signs that signal your finish needs attention:
- Water Test: When water no longer beads on the surface, it’s a clear sign that the sealant has worn off and it’s time to reapply.
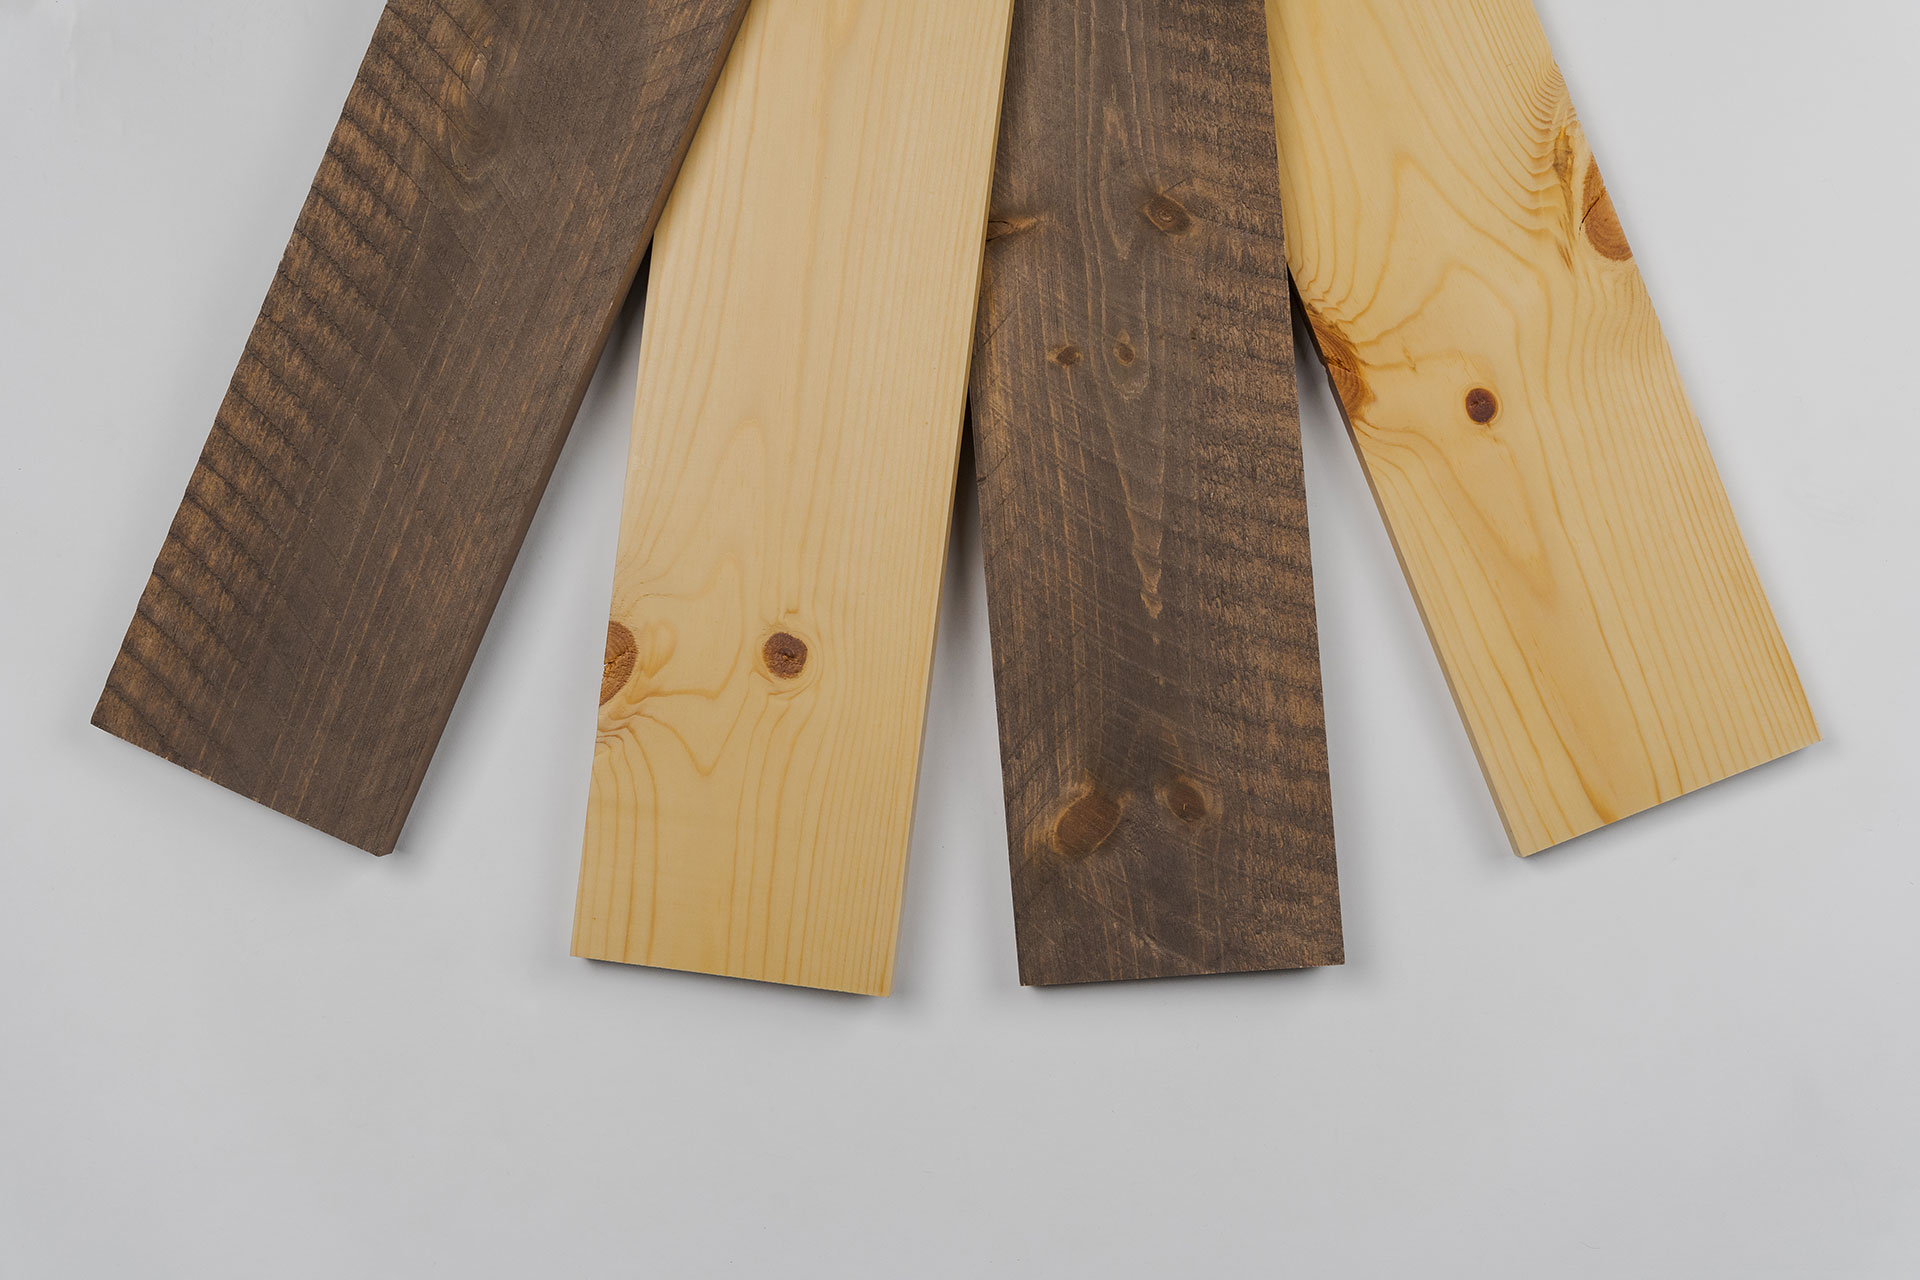
- Faded or Patchy Color: For areas that are more exposed to the sun, faded, dull, or patchy colors can develop on the wood’s surface.
- Peeling, Flaking, or Cracked Finish: This means the sealant is breaking down and no longer protecting your siding.
- Dark Spots or Mildew: Areas that are darker in color or have mildew means that moisture has already started seeping into the wood.
The earlier you address any of these signs, the more money you will save on repairs in the future.

Step 5: Clean Out Gutters and Downspouts
Once your siding is cleaned, sealed, and ready for the season, don’t forget to clean out your gutters and downspouts. Clogged or damaged gutters can cause water to overflow and run down your siding, which can eventually result in water damage. Make sure your gutters are cleared of any leaves or debris and that your downspouts are securely attached.
Make Maintenance a Habit
Routinely taking care of your siding can ultimately save you time and money on repairs down the road. With a freshly cleaned exterior, sealed joints, and strong finish, your real wood siding will be better equipped to handle whatever the seasons throw at it. Set a reminder, mark your calendar, or add it to your seasonal cleaning schedule. With a little effort now, you can keep your log siding looking just as beautiful and strong as when it was installed.
Need more information?
We’ve got you covered!
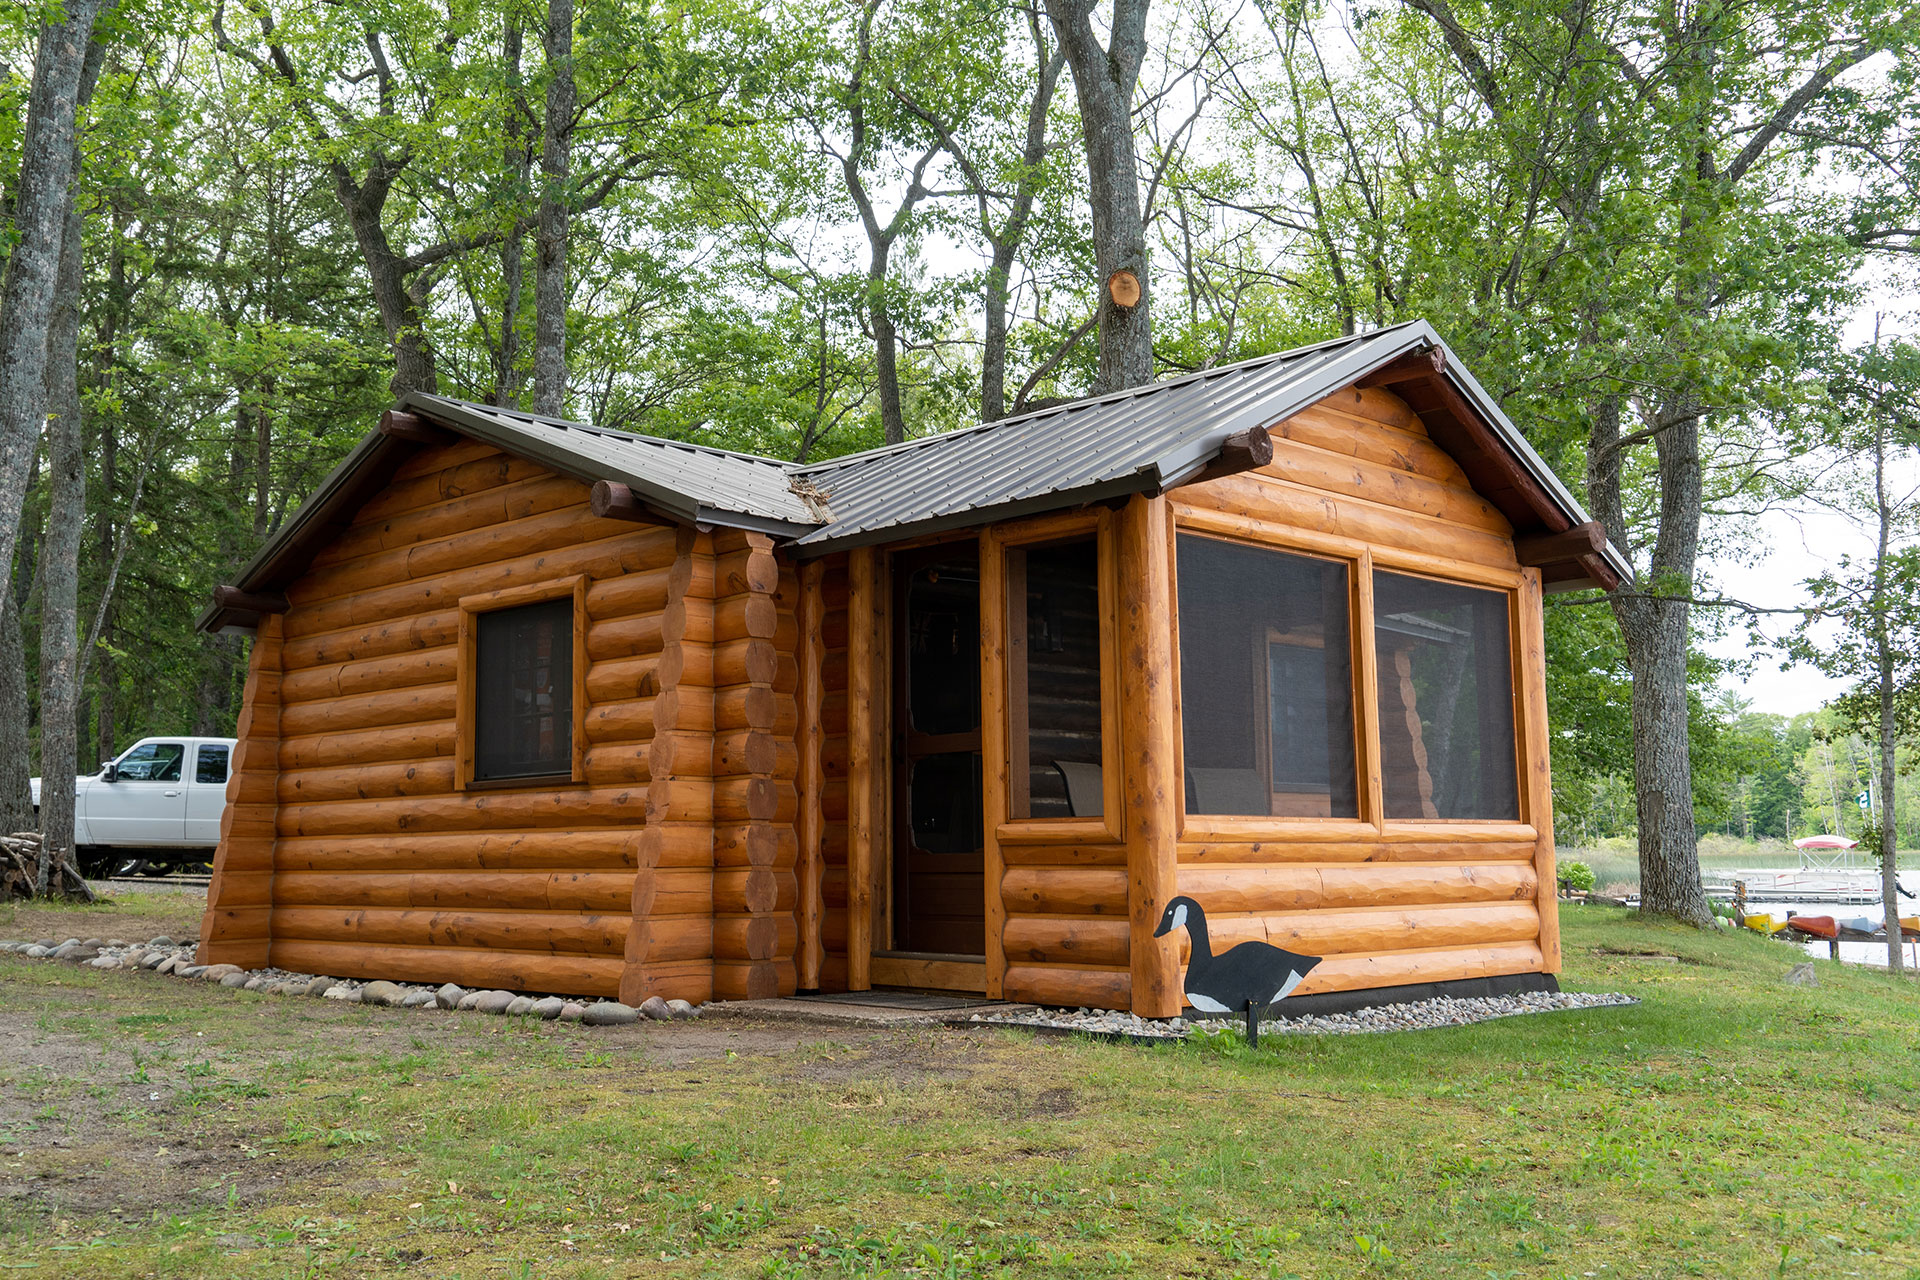
You know the log cabin style is the look for you. Now find out how you can bring it to your home!
Contact us for a free estimate or for any additional questions.